
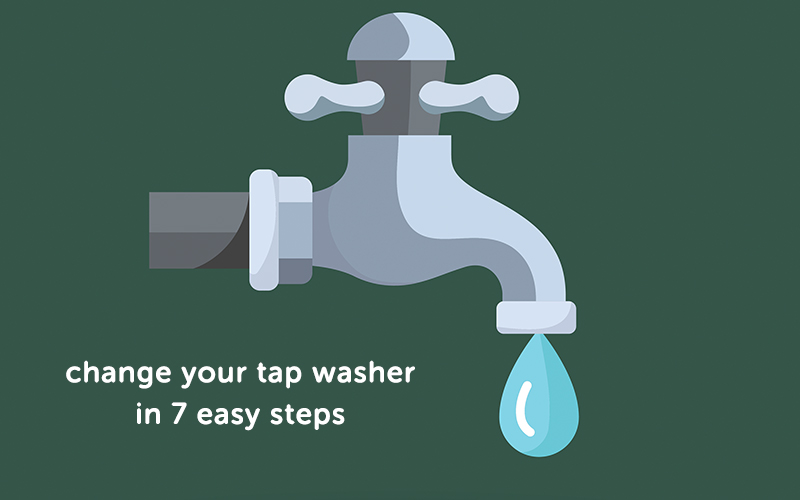
Learning how to change a tap washer is one of the essential skills that will turn you from a DIY amateur to someone who really knows their stuff. Luckily, it requires very little effort, usually taking just a few minutes and requiring very little in the way of equipment. In fact, it can be done in as little as 7 easy steps that we've outlined for you below...
For those of you who have absolutely no idea what a tap washer is let alone how to change one, this guide is for you. And you can all breathe a sigh of relief; when it comes to changing a tap washer, there is no drilling, no fussing around with pipes and no interaction with highly toxic chemicals. This is DIY at its finest - simple, satisfying and (almost) totally safe.
Tap Washer or Ceramic Disc Cartridge?
If you've got a more modern tap, it's possible that your tap uses a ceramic disc cartridge rather than a rubber washer. If you're after how to change a ceramic disc cartridge instead, please check out our other article here.
Why Would You Need to Change a Tap Washer?
We’ve all experienced the total rage that comes from a dripping tap. No matter how much you tighten it, it simply won’t stop leaking. All you’re left with is hand cramp and a tap you now can’t turn back on.
Polly Shearer, bathroom expert at Tap Warehouse advises, "many people are unaware that the cause of a leaky tap can come from the tap washer itself. When they get worn they start to become less effective, so a solution to this is to change the tap washer."
If in the unlikely event you go through the hassle of changing your tap washer only to discover that your tap still leaks, we can only apologise - and also direct you to the end of this guide where we have suggested what else make be causing it.
Where is the Tap Washer Located?

A typical tap will consist of two main parts, the seat and the tap washer. When the tap is turned on, the washer is directed towards the seat creating a pressure build up. This forces the water out through the spout and into the sink. When you turn the tap off, the washer makes a watertight seal by pushing against the seat, preventing any water from flowing through and out the tap.
Unfortunately, tap washers do not last forever and any damage is likely to result in a leaky tap. If the washer cannot form a watertight seal, due to wear and tear, a small amount of water will be allowed to get through and out through the spout. Changing your tap washer when it gets worn will stop any leaking.
New tap washers are inexpensive and very easy to come by. You can get them from practically any DIY or hardware store. They come in a variety of sizes and normally in a pack of 4, so you shouldn’t need to purchase them very often.
How to Change a Tap Washer
Before You Start
Check your taps are standard taps as these are what this guide is focused on. If you are in any doubt over whether your tap qualifies as a ‘standard tap’, it’s best to check with a professional. Not all taps work the same way and although it’s likely that this will work for you, we can’t be 100% sure - sorry.
You Will Need
Before you get cracking, you’ll need a few pieces of equipment. Hopefully you already have all these somewhere in your home but if you don’t they can be easily be purchased or perhaps borrowed off that neighbour you’ve never spoken to before. That’s what they’re there for, right?
You’ll need: a flat-headed screwdriver, a spanner, an old towel or cloth and your packet of tap washers. Yes really, that’s it.
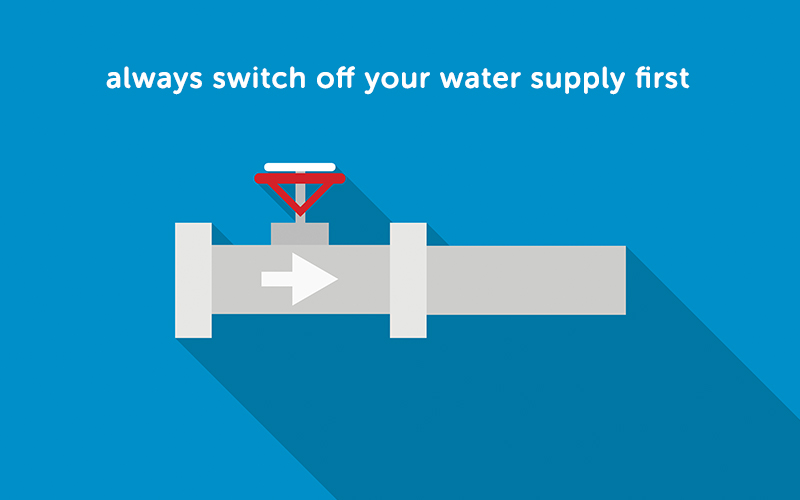
Step 1
The first step is to turn off the water supply, unless you want to flood your bathroom or kitchen. There should be an isolation valve underneath the tap which can be used to turn off the water to that particular sink or, if you don’t have one of these, turn off the water at the mains. If you’re changing the tap washer on the hot water tap then you will need to turn off the boiler and immersion heater too.
Step 2
Next up, put the plug into the plug hole of the sink. This will prevent you losing any screws or tap components down the drain if you drop them. It’s also a good idea to place your old towel inside the sink to avoid damaging the surface if you drop something.
Step 3
Using your screwdriver, remove the cover from the tap. This will expose the valve which can then be removed using the spanner. If it is stiff then hold the tap in place with a wrench if you have one, but protect the tap with a cloth first.
Step 4
The tap washer is underneath the valve, secured into place with either a screw or a nut. Remove the tap washer with a spanner or, if it’s too difficult to undo, put penetrating oil around it and allow this to soak in before trying again.
Step 5
Replace the old, worn washer with a new tap washer in the same size.
Step 6
Put the tap back together again. Screw the valve back into place being careful not to overtighten as this can damage the tap. Fasten the top back onto the tap and marvel at your DIY skills.
Step 7
Remove the towel from your sink, take out the plug and turn the water back on. You’re done! Pat yourself on the back and make yourself a well-deserved cup to tea.
Extra Tip
If you want to be extra DIY, inspect the valve while you are changing the tap washer. If the valve looks worn, rough or scored then the seal between the washer and the seat won’t be effective anyway. This may mean the tap continues to leak even after you have changed the tap washer, rendering all this a total waste of time. Changing the valve and washer is slightly more complicated, although still perfectly manageable. If in doubt, call a professional!
Preventing Leaking Taps
Polly Shearer summarises how to prevent leaking taps, "investing in taps with ceramic disc cartridges is a great idea if you can’t bear the thought of a leaky tap or the need for a DIY tap washer change! Ceramic disc taps are resilient and durable, meaning that you won’t need to change them as often as you would for a compression washer."
We hope this guide has filled you with confidence in your tap washer changing abilities. Good luck, and if you're stuck then contact our wonderfully-helpful team.


