
There are many reasons why you might want to change a radiator valve. Your old one has started leaking, or you want to replace a standard valve with a Thermostatic Radiator Valve (TRV) to save some money. Whatever the reason, this guide will show you how you can easily change your radiator valves.
How To Change A Radiator Valve:
- Drain central heating
- Undo both nuts on the valve
- Clean pipes & joints
- Apply jointing compound
- Fit the new valve
- Turn heating back on
1. Drain Your Central Heating System
Before you remove your radiator valves you'll need to completely drain your central heating system. This process is relatively simple if you have a combi boiler system. However, if you have a conventional cylinder tank the process is more complex and you'll need to call in a plumber.
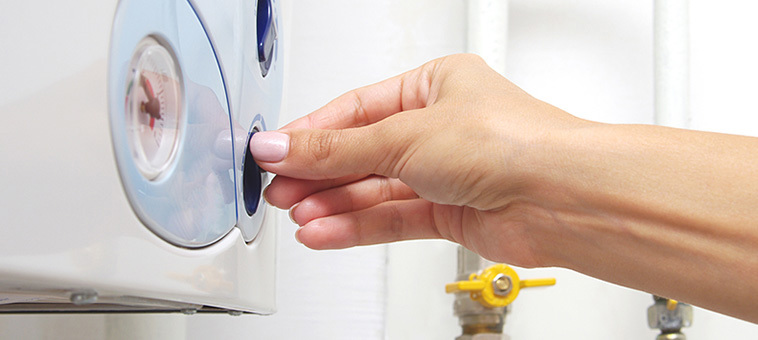
Before you do anything else you'll first need to shut off the water supply to your heating system, turn down all the thermostats in your home and electrically turn off the boiler. This will ensure there's no chance of the heating system turning back on whilst you are working.
Next you'll need to locate a system drain cock. The drain cock should be lower than and closest to the radiator you want to work on. Once you've located your drain cock, you can plug a hose into it and run the other end outside to somewhere you are happy for the water to drain. You can then use a spanner to undo the drain off so water starts to flow through the hose.
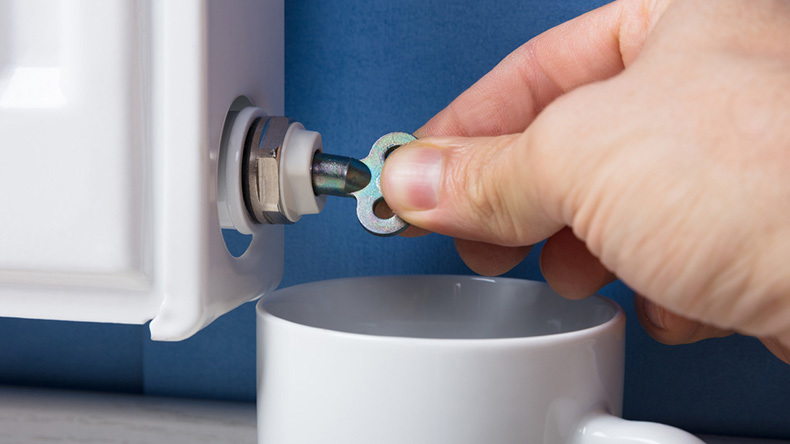
You'll then need to take a radiator bleed key and undo the bleed valve on all the radiators in your home. This will help the water flow out of the radiators and prevent any further water flowing in. It can also stop any radiators higher than the one you are working on holding water, only to release it later.
You'll now need to leave your system for 10-15 minutes to allow it to drain completely.
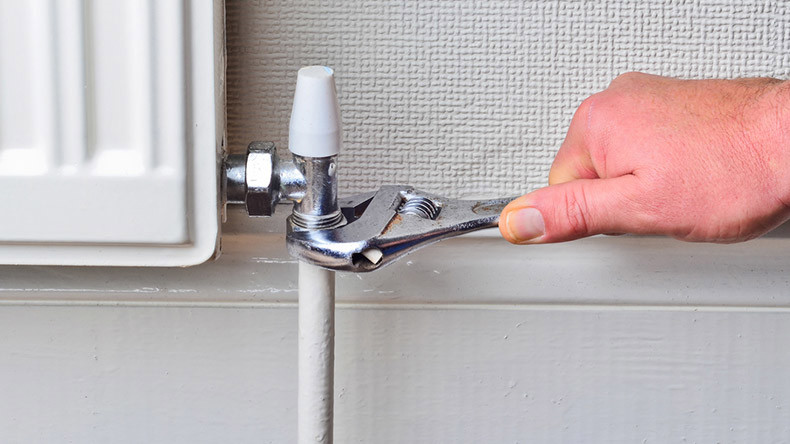
2. Undo Both Nuts On The Valve
Using a pair of grips, hold the body of the valve and loosen the nut closest to the radiator with a wrench by turning it counter clockwise. Don't undo it completely yet. Next, grip the body of the valve again and undo the bottom nut. After you have loosened both nuts you should then be able to wiggle the old valve and remove it.

If you want to make the installation easier, you can leave the current nuts and olives in place and reuse them for your new valve. If you want to fit a new set of nuts or your new valve isn't compatible with your old insert, click here.
3. Clean The Pipes & Joints
Now you've removed the old valve, take a cloth and clean the area where the valve once sat.
4. Add Jointing Compound
Add some jointing compound to the two olives which you've left on your radiator. This will help form a tight seal and keep the new valve in place.
5. Fit The New Valve
If you have left the old nuts in place, you can now place your new valve on the radiator. The majority of new radiator valves will have two arrows on them which means they are universal and water can flow both ways. If your new valve only has one arrow, make sure this is pointing in the direction the water will be flowing into your radiator. If you're unsure, contact your manufacturer.
You can now tighten the nuts onto your new radiator valve. You can do this by hand first to get the valve into position, then using the grip & wrench method you used earlier to tighten everything up.
If you are installing a TRV, you can now add the TRV head to the top of the radiator.
6. Turn The Heating System Back On
You'll now need to turn your heating system back on. First, close all the bleed valves in your home that you opened earlier. It's really important you close all of these as if you miss one, you'll be left with a puddle next to the radiator when the system is switched back on.
Next you'll need to shut off the drain cock and remove the hose.
If you have a gravity fed system you can now turn the water back on where you switched it off earlier and allow your heating system to fill up with water. You'll then need to individually bleed all the radiators around your home so you can be sure they're properly filled.
As you are refilling your heating system, now is also a good time to add some inhibitor.
Fitting A New Radiator Insert
The method described above is designed to be the easiest installation for anyone with little prior DIY knowledge. If you want to change the nuts to match your new valve, or your new valve isn't compatible with the current setup, you'll also need to replace the radiator insert.
The radiator insert is the connector between the radiator and valve. To remove the insert you'll need to loosen it with a wrench. You can then add some PTFE tape to the radiator tail that came with your valves and fit it to the radiator. You can also add a new olive and nut to the bottom of the valve.
Can you change a radiator valve without draining the system?
You can change a radiator valve without draining the system, but the process can be difficult if you aren't a trained plumber. For any beginner, it's always safer to drain the system to reduce the risk of flooding.
Now you know how to fit a new valve to your radiator, take a look at our range so you can upgrade your own valves. If you need help choosing the right valves for your radiator, take a look at our comprehensive guide.


