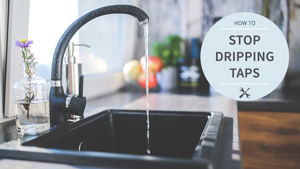
There’s little in life more rage-inducing than constantly hearing the ‘drip, drip, drip’ of a tap that just won’t stop dripping. But not only does the constant dripping feel like an old-school form of torture, it’s also very costly and can cause serious damage to your home.
A constantly dripping tap is a huge waste of water, and can run up your water bill in a very short time. Keeping your taps in tip top condition is the best way to avoid the hassle of repairs, arguing with insurance companies and spending more than you need to on your water bill. Plus, you’ll finally have some peace and quiet because, as unlikely as it seems, we’re convinced we can still hear the ‘drip, drip, drip’ from the kitchen even when we’re not at home!
Fancy yourself a bit of a DIY enthusiast? There’s no need to call a plumber when it comes to dripping taps. This is a skill every homeowner should know, and we’re here to teach you. Unless of course you're not particularly confident in the world of DIY, in which case - please do call a plumber!
Here’s how to stop a dripping tap.
What Causes Leaky Taps?
To fix a leaky tap, you’ll need to know the ins and outs of what causes it to drip. These are usually caused by a degraded rubber washer or O-ring. Whilst these do last a while, they suffer from wear and tear over time and eventually they will start allowing water to seep out. If your taps are very old, this is the most likely cause of them dripping. If your tap is newer and more modern, you’ll probably have a ceramic disc tap, which is also susceptible to wear and tear and can cause dripping.
Other causes might be issues with the valve seat. This could be from mineral deposits or a poor installation. The valve can be taken apart and cleaned which will most likely solve the problem.
If your water pressure is too high, you may also find your taps leak. This will lead to water being backed up in the valve. In this instance, it’s best to call a plumber in to do the job.
To find it if you have ceramic disc tap or washer, give your tap a turn. If it rotates only a half or a quarter then you most likely have a ceramic disc. If you can turn it further, you’ve most likely got a washer or O-ring.
Getting Stuck In
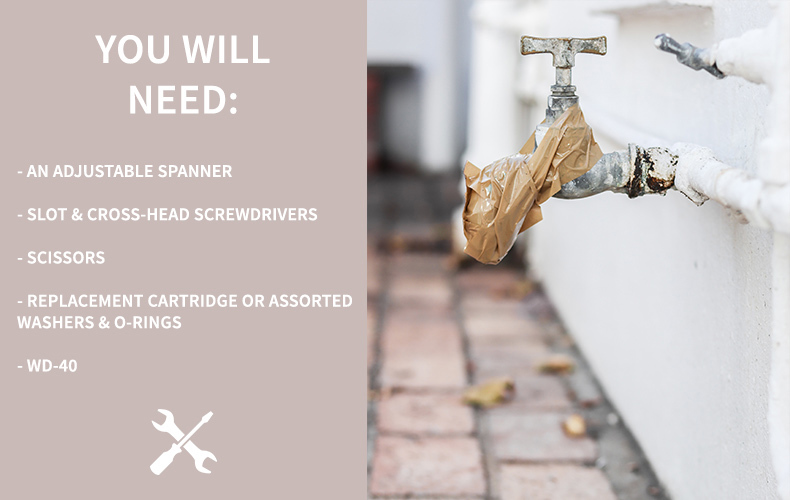
For this thrilling adventure, you'll need:
- An adjustable spanner
- Slot and cross-head screwdrivers
- Scissors
- Replacement cartridge or assorted washers and O-rings
- WD-40
How to Stop a Dripping Tap
Step 1: Turn off your water supply at the stopcock or the isolation valves, then run the tap until no more water leaks out. Place a plug in the plughole to prevent anything from falling down the drain
Step 2: Unscrew the tap to gain access to the parts inside. The screw is usually hidden underneath the cap on top of the tap (the pretty bit!), or on single lever taps underneath the hot and cold indicator. These can be unscrewed by hand but if you find it too tricky, feel free to use the slot-head screwdriver.
Step 3: Take apart your tap, including the metal cover protecting the valve. Lay everything out in the same order you took them off so you don’t struggle to put it back together again!
Step 4 a): If you have a ceramic disc tap, your tap will have a cartridge that contains a pair of ceramic discs. After taking off the cover, you’ll be able to remove the cartridge. From there, insert and tighten the spare cartridge.
Step 4 b): If you have an O-ring, you’ll be able to see it inside the tap. This will be located at the bottom of the valve and can be easily removed using a flat-head screwdriver. You may also find using the scissors to cut it free easier. Replace the O-ring with your brand new one.
Step 4 c): Finally, if you have a rubber washer, remove the small nut holding it in place, putting some WD-40 on it if it’s too difficult to remove. Using your screwdriver, remove the washer and replace it with another one.
Step 5: With everything laid out in the order you removed it, it should be relatively easy to put your tap back together. Be careful not to overtighten anything as this can also damage the tap.
Step 6: Turn on the water supply and admire your handiwork - your tap should (hopefully) have stopped dripping!
How to Prevent Dripping Tap in the Future
Unfortunately, taps do suffer from wear and tear so preventing it from becoming worn is virtually impossible.
Tom Drake, DIY expert at Tap Warehouse has a handy tip to prevent leakages, "avoid overtightening your tap when you turn it off, as this won't actually prevent leaks and can make the problem worse, so ensure you don’t turn the tap off too tightly when you use it! Instead, regularly cleaning your taps with limescale remover can prevent the build up of minerals which can cause the internal parts to degrade."
A dripping tap is no one’s idea of fun but luckily the job is relatively straightforward. If you are seriously doubting your DIY skills however, we’d recommend calling a plumber. As always, Tap Warehouse are also here if you have any questions about our DIY guides or products. Please don’t hesitate to contact us.
Taps Beyond Repair?
If your kitchen or bathroom taps are totally beyond repair, why not have a look at a few of our stunning favourites below, or check out our full range of bathroom and kitchen taps!