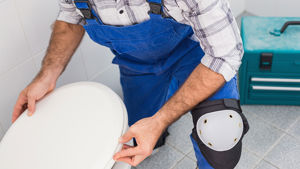
Fitting a new toilet seat is an easy and cost effective way to give your bathroom a refresh. In this article we outline how you can remove your current toilet seat, then measure and fit a new one.
Before You Start
Tools You'll Need:
- Adjustable Wrench
- Screwdriver
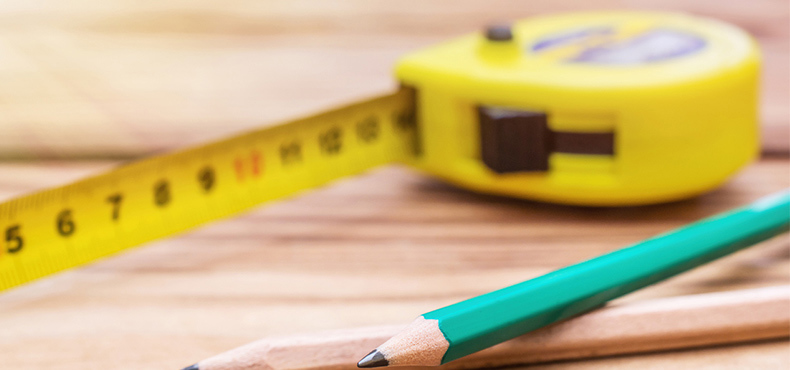
Measuring Your Toilet Seat
To determine which toilet seat you need, you'll need to remove your current seat and measure it.
- Measure from the middle of the two fitting holes to the centre of the front of your toilet.
- Measure the width of the bowl at its widest point.
Taking these measurements will help you determine which size seat you'll need. If you need to purchase a new one, take a look at the excellent range of toilet seats available at Tap Warehouse
How To Remove The Old Toilet Seat
1. Press the Button and Remove From Quick Release
Most modern toilet seats will have a quick release button to help you take it on and off easily. Press the button and lift the seat up.
2. Remove The Fixing Caps
With a screwdriver, lift up the seat fixing caps to get to the bolts underneath.
3. Unscrew The Bolts
With your screwdriver, unscrew both of the bolts.
4. Remove The Toilet Seat Fixings
Now you have loosened the them, you can take the bolts and fixing kits off on both sides.
Removing A Traditional Toilet Seat
1. Remove The Nut Underneath The Toilet
Underneath your traditional toilet you should be able to find a nut. If this is a wing nut you will be able to remove it by hand but if it's a standard nut, you'll need to loosen it with a wrench or pliers.
2. Lift Up The Seat
After removing the nut you should be able to pull up the seat and remove it along with the bolts.
Fitting The New Seat
Now you've removed your old toilet seat, it's time to fit a new one. This guide shows you how to install a top fixing toilet seat. For bottom fixing seats, see the guide below.
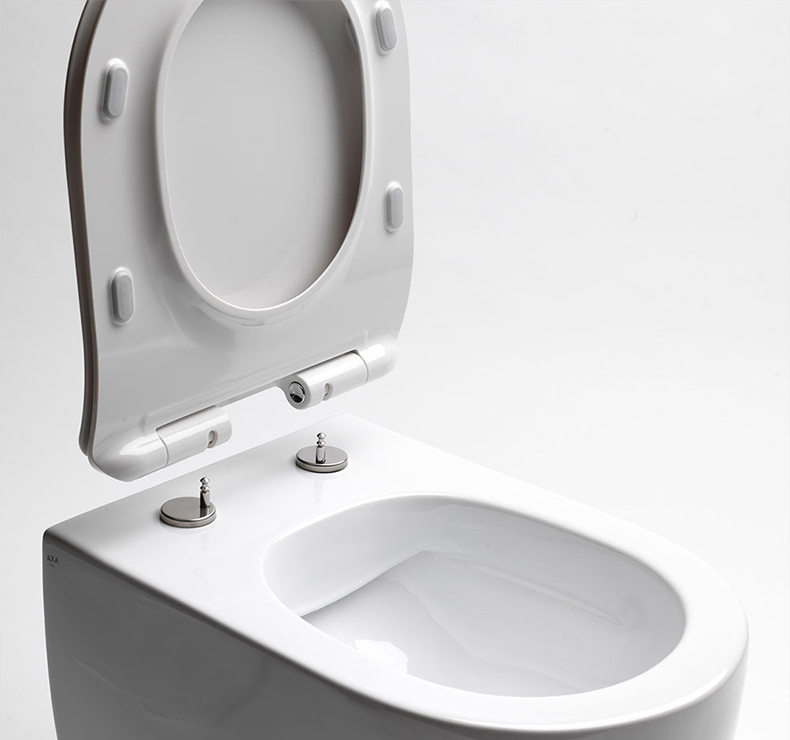
1. Fit The Plastic Plugs
Fit the two plugs that came with your toilet seat into the holes in your toilet pan halfway.
2. Fit The Hinge
Fit the metal washer on top of the plastic plug then add a hinge on top of the washer.
3. Attach The Bolts
Fit the bolts into the hole on the hinges and tighten with a screwdriver.
4. Adjust The Seat
Push the toilet seat into the quick release hinges and adjust it until it's in the correct position. You may need to tighten the bolts further at this point.
5. Fit Hinge Caps
Once you have adjusted the seat correctly, remove the seat from the quick release and snap the hinge caps on top of the bolts.
6. Re- Attach the Seat To The Quick Release
With the hinge caps added all you need to do is reattach your seat to the quick release.
Installing a Bottom Fixing Toilet Seat
Some toilets may come with a bottom fixing kit, these will often be easier to fit than modern top fixings.
1. Assemble Provided Fittings
With the instructions that came with your toilet seat, assemble the fittings for the toilet.
2. Fit The Bolts Into The Toilet
With your fittings assembled, line the bolts up and fit them into the holes on both sides of the toilet.
3. Turn The Nut Underneath
Look behind your toilet and locate the bolt you've just dropped through. Screw the nut provided onto this bolt using your hand if it's a wing nut or a wrench if it's a regular nut. Don't tighten it too much yet.
4. Adjust Seat Position
Adjust the position of the seat until you're happy with it. Once you've done this you can now fully tighten the nut underneath and your seat is installed!
Now you know how to replace your toilet seat, take a look at the excellent range available at Tap Warehouse.